Welding – One of the Most Common Joining Methods In Manufacturing
Welding is a fabrication process in which materials are joined together to produce an object or structure. The melting of a filler material commonly joins these materials and fuses them. Weld check result is achieved using one of three main techniques: gas, arc, or laser welding.
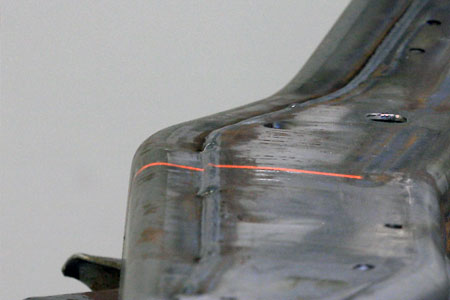
Good welds are critical for the safety and integrity of a structure and affect the crashworthiness of a vehicle, so welds must be inspected upon completion. New welders are trained to weld check after they have completed a job; however, it is challenging and time-consuming for welders and welding inspectors to inspect all of their completed work for defects.
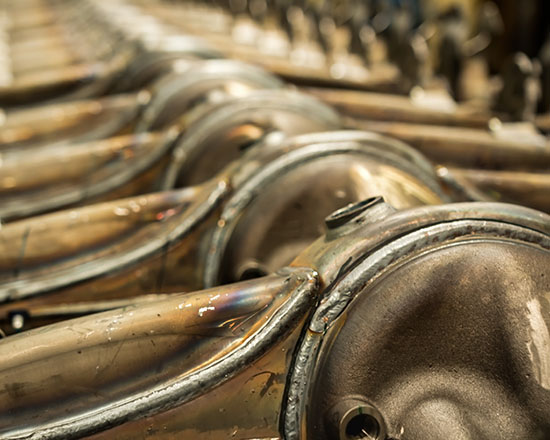
Weld defects can be defined as the irregularities in a given weld due to incorrect welding techniques or incorrect welding patterns. Many different defects can arise during the welding process. Some of the most common external welding defects are cracks, undercuts, burn-through, porosity, spatter, and overlap.
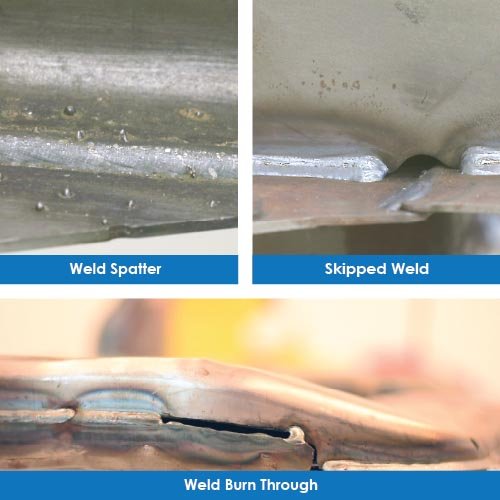
Common Weld Defects and Imperfections
Defects can be present at the surface of the weld material or the affected heat zones on the joined materials.
- Weld Undercut
Undercuts occur in a weld when the base of the metal melts away from the weld zone, and a groove is formed. This defect reduces the strength of the joint.
- Weld Porosity
Another common defect in welding can occur when small bubbles of gas or air get trapped in the welded zone; this is called porosity.
- Weld Burn Through
A burn through produces a hole through the base metal. It often occurs when excessive heat is left on a particular portion of the metal for too long.
- Weld Spatter
When welding, it is possible for some of the metal drops to be expelled from the weld and remain stuck to the surface of the welded material. This result is known as spatter.
- Weld Overlap
Overlap is when the weld face extends beyond the weld toe. When an overlap occurs, the weld metal rolls out and forms an angle less than 90 degrees.
Undercuts occur in a weld when the base of the metal melts away from the weld zone, and a groove is formed. This defect reduces the strength of the joint.
Another common defect in welding can occur when small bubbles of gas or air get trapped in the welded zone; this is called porosity.
A burn through produces a hole through the base metal. It often occurs when excessive heat is left on a particular portion of the metal for too long.
When welding, it is possible for some of the metal drops to be expelled from the weld and remain stuck to the surface of the welded material. This result is known as spatter.
Overlap is when the weld face extends beyond the weld toe. When an overlap occurs, the weld metal rolls out and forms an angle less than 90 degrees.
Costly Consequences of Downstream Weld Defects
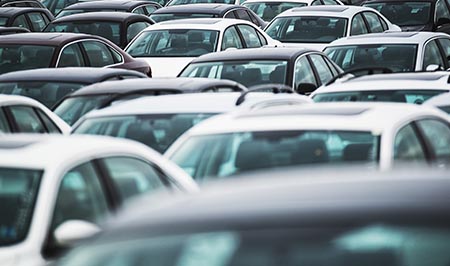
These common weld defects missed by welding inspectors can be catastrophic for manufactures; the news often reports weld defects that have caused automotive OEMs to issue massive recalls, sometimes costing hundreds of millions of dollars in damage to the brand’s reputation. In early 2019, for example, one of the largest automakers had to recall more than 10,000 pick-up trucks in North America due to incomplete and missing welds that could cause the rear driveshaft to crack and fall off. This error could lead to dangerous road debris for fellow motorists or result in a loss of power for the affected vehicle.
Even brand-new cars are not immune to weld defects. In another recall case that affected over 110,000 vehicles, the improperly welded bushing housings and joints could lead to lower control-arm separation. This error could lead to catastrophic consequences for the drivers and vehicles involved.
In another very high-profile recall that involves a multi-billion-dollar streetcar contract, one of the biggest cities in North America had to send more than half of their new streetcar orders back to the manufacturer after discovering more than 20% of the body structures suffered from weld defects.
The above three examples are just some of the weld defects that have been missed in the initial quality control process and were passed downstream, resulting in costly recalls and safety hazards. These oversights make 100% in-line weld check even more critical to ensure high-quality, defect-free deliveries.
